
Every Christmas I find a new DIY project to take on. Years past it's been blankets, scarves, headbands, etc. This year it was burlap wreaths! Simple yet elegant.
What You'll Need :
Quick How To :
*Rings - Refer to the inner, middle, and outer circle of the wire wreath frame.
*Sections - Refer to the portions of the wire frame that are separated by the vertical wires around the wreath.
Don't hesitate using YouTube or Pinterest for more visual directions!
What You'll Need :
- Wreath Frame
- 30ft Burlap Ribbon
- Wire
- Flowers, Letters, etc.
Quick How To :
- Start by attaching the burlap to the inner wire of the wreath by stringing the wire through the burlap and tying into a knot 2-3 times to secure. You may fold the burlap in half for this step.
- Now that the burlap is attached, you will flatten it and begin pulling it between the *rings from underneath. Leaving about 1-2 inches of burlap in the inner, middle, and outer rings.
- In order to repeat pulling the burlap from underneath - you will need to twist it twice after completing the outermost ring and begin again with the inner ring. The twists will remain on the back side of the wreath. (If using wired ribbon - Try to keep the wired side to the back.)
- You will complete the steps above 4 times within each *section.
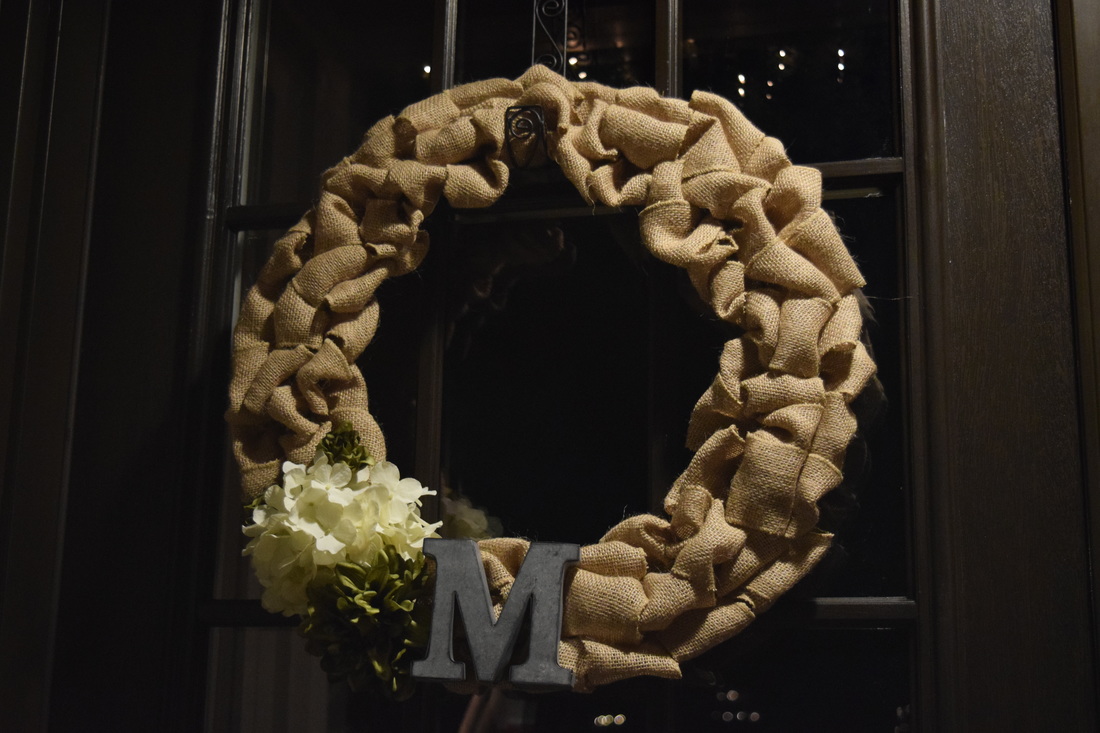
- Leaving one complete section free of burlap to have the space to be creative with flowers, letters, or any decor of your choosing.
*Rings - Refer to the inner, middle, and outer circle of the wire wreath frame.
*Sections - Refer to the portions of the wire frame that are separated by the vertical wires around the wreath.
Don't hesitate using YouTube or Pinterest for more visual directions!


 RSS Feed
